
To deploy from GitHub on FPS.ms, you connect your GitHub account once, then connect a repository and a branch to your server on its Deployments tab. From then on, every push to that branch deploys by itself: the server fetches the new commit, installs your packages, and restarts on the new code. GitHub deploys work on every Container runtime on a paid plan.
Before you start
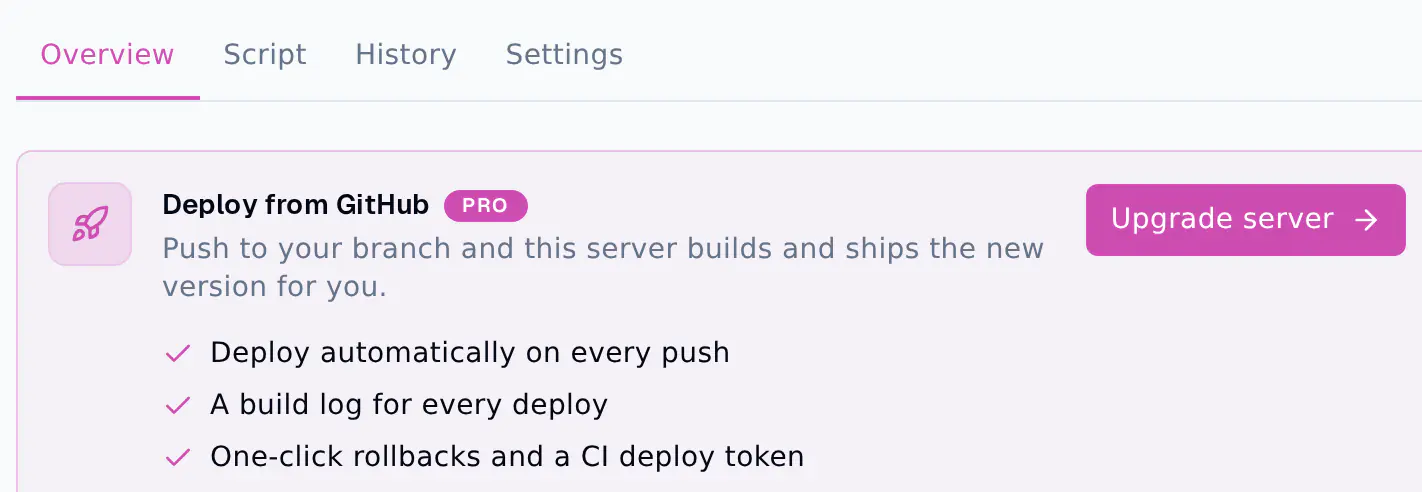
- A paid plan. On a free server, the Deployments tab shows an upgrade card instead. You can upgrade from that card.
- You own the server. Only the owner can connect a repository. Team members can watch deploys with the startup read permission, and deploy or change settings with the startup update permission.
- Your code is on GitHub. Public and private repositories both work.
Step 1: Connect your GitHub account
You do this once for your FPS.ms account.
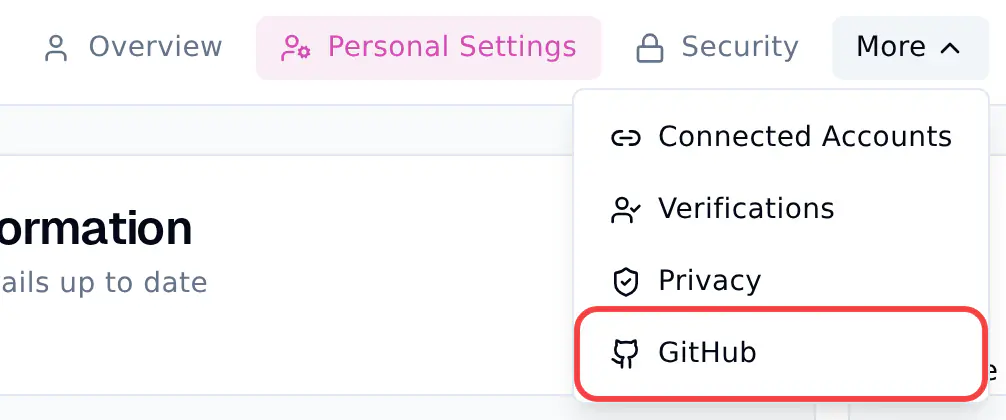
- In the panel, open your account and click More, then GitHub.
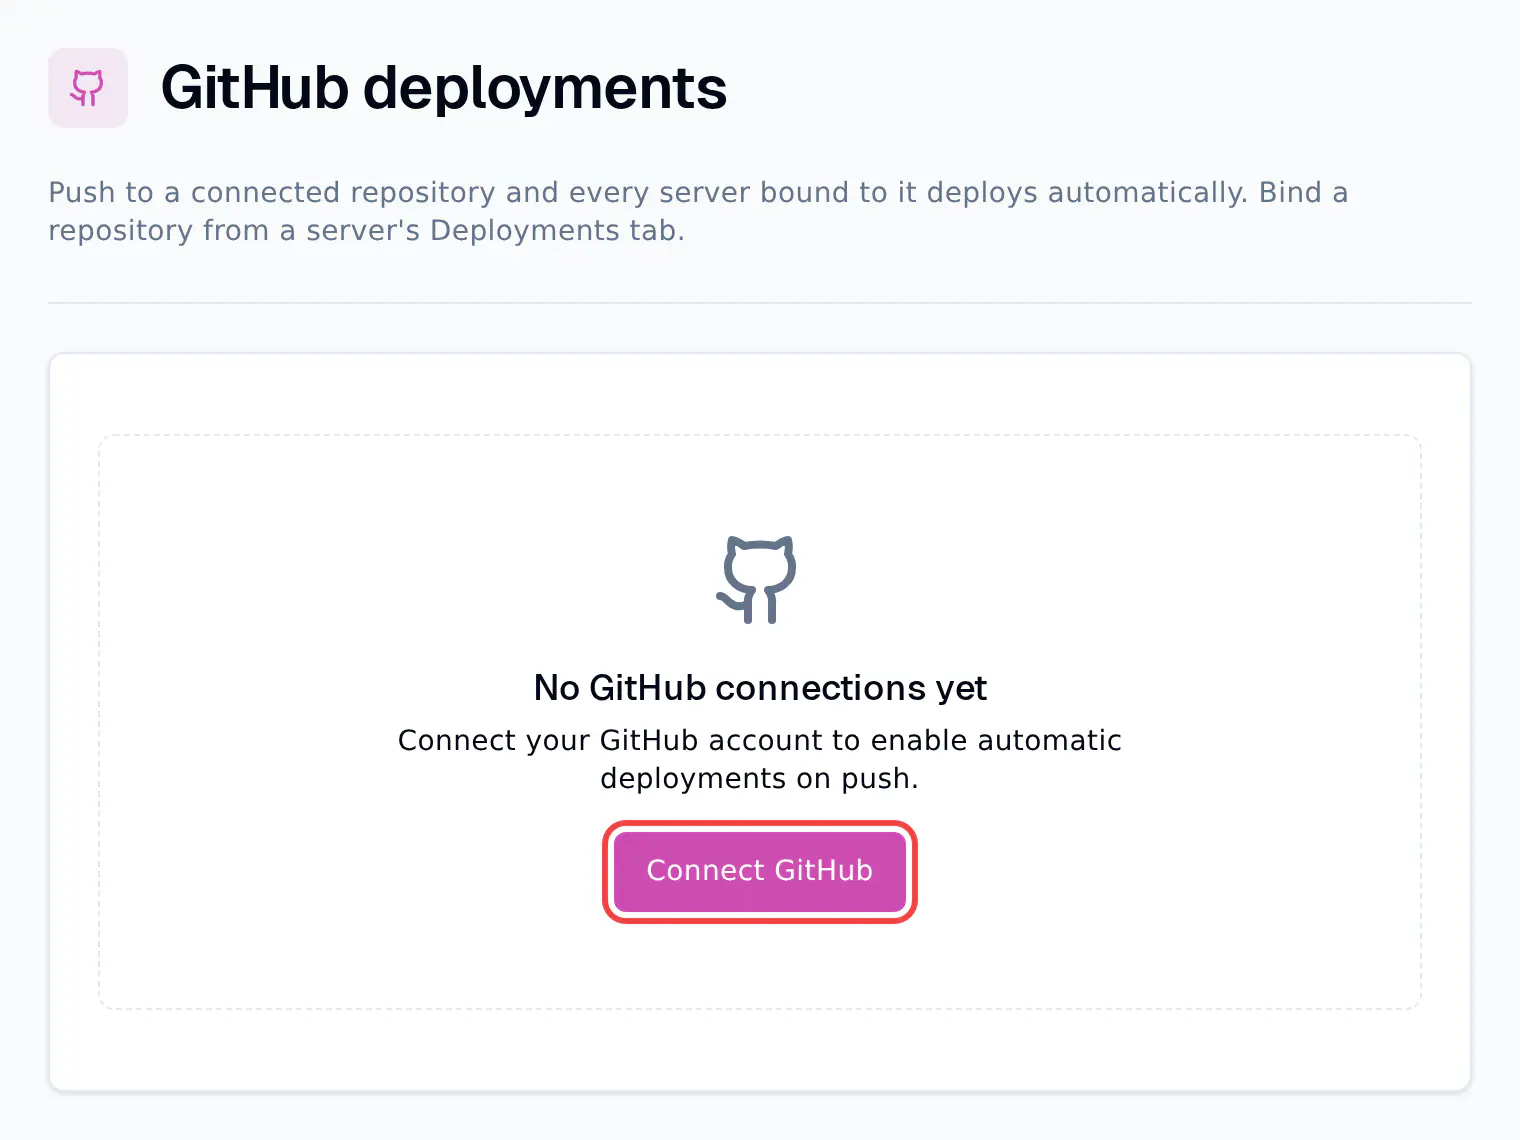
- Click Connect GitHub.
- GitHub opens and asks where to install the FPS.ms app. Pick your personal account or an organization, like
cobaltworks. - Choose Only select repositories and pick the repositories you want to deploy, or choose All repositories.
- Click Install (GitHub may call it Install & Authorize). You return to the panel, which says "GitHub account connected."
What the app can do
The FPS.ms app reads your code and adds the webhook that tells FPS.ms about new pushes. Each deploy uses a short-lived token that can only read the one repository you connected.
Step 2: Connect a repository to your server
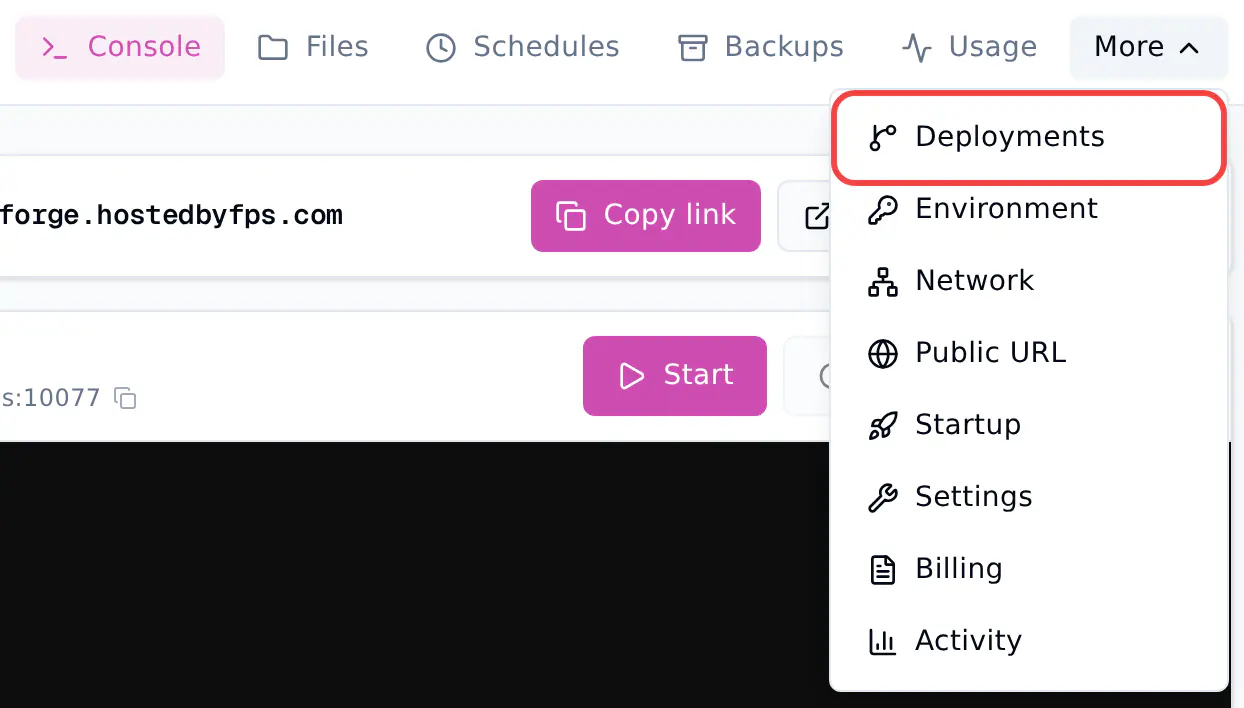
- Click Manage on your server, then More and Deployments.
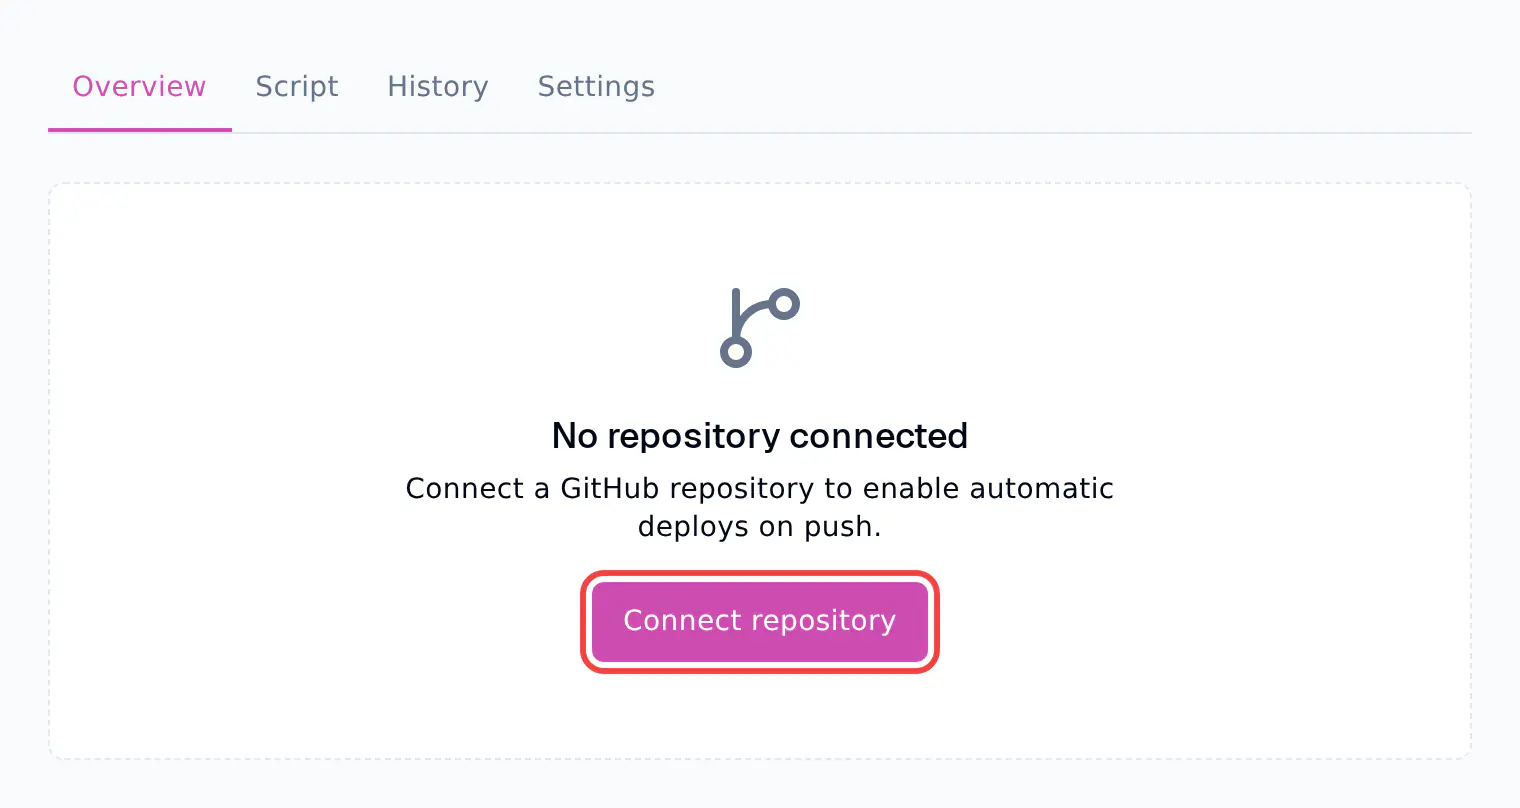
- Click Connect repository.
- Under Repository, pick your repository, for example
cobaltworks/cobalt-bot. - Under Branch, type the branch to deploy, usually
main. - Click Connect. The panel says "Repository connected. The first deploy is starting."
Step 3: Push to deploy
Auto-deploy is on as soon as you connect. Every push to the connected branch now starts a deploy. A deploy:
- Fetches the commit you pushed into your server's files. Changes you made by hand to files that are in your repository are replaced.
- Runs the deploy script, which installs your packages, for example
pip install -r requirements.txtornpm ci. - Restarts the server on the new code.
Your app is offline for a short moment during every deploy, while the server restarts.
You can also deploy without pushing: click Deploy now on the Overview tab. Turn Auto-deploy off there if you only want to deploy by hand.
Watch a deploy and read the log
- The Overview tab shows the deploy that is running and the last finished one. Click View log to see every line the build printed.
- The History tab lists every deploy with its commit, status, duration and who started it. Filter it by status (queued, running, success, failed or cancelled) or by branch.
If a deploy fails, the log shows why. The last lines usually name the problem, for example a package that does not exist or a build that ran out of memory.
A failed deploy can still go live
A deploy builds in your server's files. If it fails after some files were already replaced, your server keeps running the old code until its next restart, and then starts with those new files. Fix the build and deploy again, or roll back.
Roll back or redeploy
- Open the History tab.
- Find a deploy that worked.
- Click Rollback to this commit and confirm Rollback to this release?
To run the same commit again, for example after you changed an environment variable, click Redeploy this commit.
What changes while a repository is connected
- The startup command is locked. The server starts your app the way GitHub deploys expect. Startup settings like the main file still work on the Startup tab.
- Environment variables reach the build too. Variables from the Environment tab are available to the deploy script and to your app. See environment variables.
- The deploy script is yours to change. See custom build commands and CI deploys.
Already using the Git Repo Address field?
Older Python and Node.js servers could pull code with the Git Repo Address, Git Username and Git Access Token fields on the Startup tab. Those fields keep working where they are filled in. On a paid server, the Console offers Move to GitHub deploys: when you connect the same repository, the startup command switches to GitHub deploys, the saved Git username and token are removed, and the first deploy starts right away.
Disconnect
- One server: on the Deployments tab, open Settings and click Disconnect. Auto-deploys stop and your files stay. The original startup command comes back.
- Your whole GitHub account: on your account's GitHub page, disconnect the installation. This removes the FPS.ms app from GitHub and disconnects every server that deployed from it.
Common problems
- "GitHub deploys are available on paid plans": the server is on the free plan. Upgrade it, or upload your code with SFTP.
- Your repository is not in the list: the FPS.ms app cannot see it. On GitHub, open Settings, Applications, configure the FPS.ms app and add the repository.
- Pushes do not deploy: check that Auto-deploy is on and that you pushed to the branch you connected.
- The deploy succeeds but the app does not start: read the Console. See fix an app that will not start.
- No Deployments tab: your server runs on an older node that does not support GitHub deploys yet.
- "Too many deploys for this server": wait the number of seconds in the message and try again.